This post is based on Oracle Code 2018 Shenzhen, Warsaw and Berlin talks. View presentation on SlideShare:
In my previous post I have outlined how to build chatbot backend with TensorFlow - Classification - Machine Learning Chatbot with TensorFlow. Today post is the next step - I will explain how to build custom UI on top of TensorFlow chatbot with Oracle JET.
You can download complete source code (which includes TensorFlow part, backend for chatbot context processing and JET custom component chatbot UI) from my GitHub repository.
Here is solution architecture snapshot:

TensorFlow is used for machine learning and text classification task. Flask allows to communicate through REST to TensorFlow from outside. Contextual chatbot conversation processing is implemented in Node.js backend, communication with Oracle JET client is handled by Socket.io.
Key point in chatbot implementation - correct data structure construction for machine training process. More accurate learning will be, better classification results will be achieved afterwards. Chatbot training data can come in the form of JSON. Training data quality can be measured by overlap between intents and sample sentences. As more overlaps you have, weaker machine learning output will be produced and classification will be less accurate. Training data can contain information which is not used directly by TensorFlow - we can include intent context processing into the same structure, it will be used by context processing algorithm. Sample JSON structure for training data:

Accurate classification by TensorFlow is only one piece of chatbot functionality. We need to maintain conversation context. This can be achieved in Node.js backend, by custom algorithm. In my example, when context is not set - TensorFlow is called to classify statement and produce intent probability. There might be multiple intents classified for the same sentence - TensorFlow will return multiple probabilities. It is up to you, either to always choose intent with top probability or ask user to choose. Communication back to the client is handled through Socket.io by calling socket.emit function:

If context was already set, we don't call classification function - we don't need it in this step. Rather we check by intent context mapping - what should be the next step. Based on that information, we send back question or action to the client, again through Socket.io by calling socket.emit function:

Chatbot UI is implemented with JET custom component (check how it works in JET cookbook). This makes it easy to reuse the same component in various applications:

Here is example, when chatbot UI is included into consuming application. It comes with custom listener, where any custom actions are executed. Custom listener allows to move any custom logic outside of chatbot component, making it truly reusable:

Example for custom logic - based on chatbot reply, we can load application module, assign parameter values, etc.:

Chatbot UI implementation is based on the list, which renders bot and client messages using the template. This template detects if message belongs to client or bot and applies required style - this helps to render readable list. Also there is input area and control buttons:

JS module executes logic which helps to display bot message, by adding it to the list of messages generates event to be handled by custom logic listener. Message is sent from the client to the bot server by calling Socket.io socket.emit function:

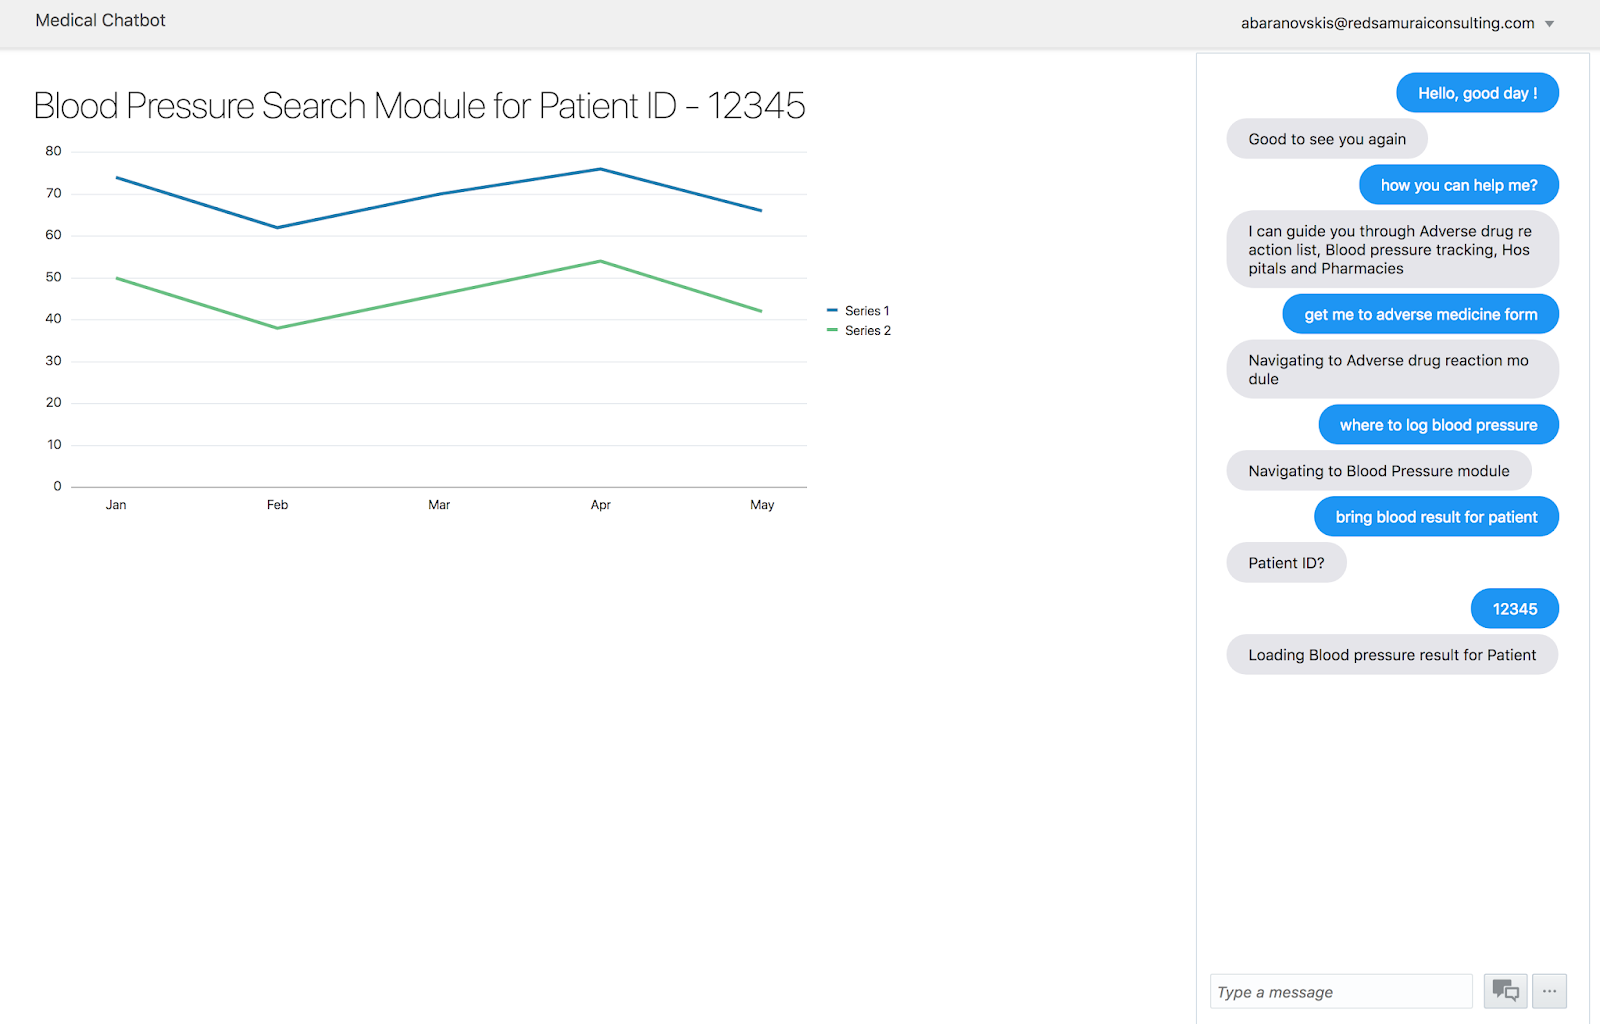
Here is the final result - chatbot box implemented with Oracle JET:
No comments:
Post a Comment